8 Proven Steps To Servicing Your Aircon
With the high usage of aircon in Singapore, with raging temperatures of 35 Degrees Celsius, it is no wonder people are complaining that their aircon started giving them problems after the first 1-2 years.
As an aircon servicing technician, we are faced daily with home owners informing us that their aircon is no longer cold or that things are failing. Many a times, when we visit these customers, what we found surprise us. The amount of dust / dirt accumulated within the aircon fail coil / aircon filters are surprisingly thick which seem like 1 year of usage without proper cleaning.
For best practice, we advise our customers to clean their aircon filters once every 3 months or so. The more frequent you do it, the lesser the load your aircon needs to produce the optimal cool air required to cool your room.
Below are 8 proven steps you as a home owner can adapt when you next clean your home and your aircon
Tools required:
- 1) Dust Brush
- 3) Water
- 2) Cloth
- 4) Vaccum
Step 1: Turn The Main Switch Off
Before you get too excited and start removing any components of the aircon, start by turning of the main switch connected to your aircon. By doing this reduces the implications of any possibility of electricity leak which is scary and deadly.
Step 2: Open the Aircon Casing
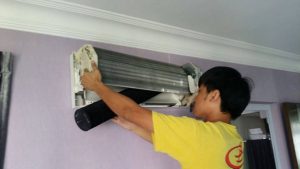
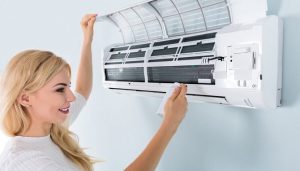
For a start, read through the aircon user manual to understand how to open the aircon casing. Once you fully understand the instruction, open the aircon case which will lead you to have access of the aircon filters & aircon fan coil
Step 3: Remove and clean the filters
Once you have access to the internal compartments of the aircon, start by removing the filter. You can use water and no acidic soap the gently wash the aircon filters to remove any visible dust.
Step 4: Thoroughly wipe the aircon case
After washing your aircon filter, use a wet cloth to start wiping the exterior of the aircon, avoid using force when wiping the aircon fins to avoid damaging them which can be costly to have it replaced.
Step 5: Dust & Vacuum your Fan Coil
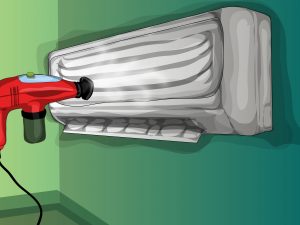
Finally, after wiping the exterior of the fan casing, start by dusting the fan coil gently. Remove and visible dust on the fan while at the same time, gently vacuum your aircon fan coil. Void using brutal force on the aircon fan coil to avoid damaging them which is costly to have it replaced.
Step 6: Place the aircon filter back
After drying your aircon filter, place it back into the aircon unit. Once this step is done, close the aircon case and turn your aircon on. Leave it on for 15 minutes to let the aircon flow while at the same time, see if you’re able to feel the cold air.
Step 7: If there is no cold air, refrigerant might be needed to be refilled
After running your aircon for 15 minutes, your room should start to cool and feeling cold. If none of the mention is experienced, contact an aircon servicing contractor to get them refill your refrigerant. There are mainly 2 types of refrigerant, mainly R22 and R410A gas. You can read more here.
Step 8: Schedule your next aircon servicing
Once you are done with the above steps, you should start planning for your next aircon servicing. Either key into your calendar a date 3 months ahead or contact an aircon servicing company to engage their aircon servicing contract. Most aircon servicing companies will notify you 2 weeks before your supposed a servicing schedule to arrange an appropriate date to visit you.


